
If you’re planning to replace one tooth with an implant, you have probably already discovered that it isn’t a single appointment. It’s a sequence, and the gaps between appointments are often longer than the appointments themselves.
That can be frustrating if you were hoping to have it sorted before the holidays. It helps to know that most of that waiting is your body doing important work. Below we lay out the typical journey for a single implant at our Cookstown clinic, stage by stage, with realistic timeframes and the factors that can shorten or lengthen each one.
Every mouth is different. Treat the numbers here as typical ranges rather than promises; your own plan will be based on your exam and imaging.
The Big Picture
Here is a simplified overview before we go through each stage in detail:
| Stage | What happens | Typical timing |
|---|---|---|
| 1. Consultation and imaging | Exam, 3D scan, treatment plan | One or two visits |
| 2. Extraction (if needed) | Tooth removed, socket may be grafted | Same day or as planned |
| 3. Socket healing | Gum and bone heal | Often around 2–4 months, if the implant is not placed right away |
| 4. Implant placement | Post placed in the jawbone | One visit |
| 5. Integration | Bone bonds to the implant | Often around 2–4 months, sometimes longer |
| 6. Impressions or scan | Crown designed | One visit |
| 7. Final crown | Crown attached | One visit, a few weeks after the scan |
Put together, many single-implant cases take somewhere in the range of three to nine months from first visit to final crown. Cases that need significant grafting can take longer. Cases where the tooth is already gone and the bone is healthy can sometimes be quicker.
Stage 1: Consultation and Planning
Everything starts with a thorough assessment. Dr. Khalid will examine the tooth or gap, check your gums and bite, ask about your medical history and medications, and review imaging that shows the bone in three dimensions.
This is where the timeline really gets decided. The scan answers questions such as:
- Is there enough bone height and width to place an implant?
- How close are important structures, like the sinus in the upper jaw or the nerve in the lower jaw?
- Is there infection around the tooth that needs to settle first?
- Can the implant go in at the same visit as the extraction, or is healing needed first?
You’ll leave with a written treatment plan and an estimate. If you’d like a sense of the overall process before you come in, our how it works page outlines the steps, and new patients can find what to bring on our new patient information page.
Stage 2: Removing the Tooth
If the tooth is still in place but can’t be saved, it needs to come out. A careful extraction aims to preserve as much of the surrounding bone as possible, because that bone will later hold the implant.
In many cases, the socket is filled with graft material at the time of extraction. This is often called socket preservation, and it helps limit the bone shrinkage that naturally follows tooth loss.
Recovery from a simple extraction is usually a few days of tenderness. You’ll be given instructions about rinsing, eating and what to avoid while the clot forms.
Can the implant go in the same day?
Sometimes. Immediate implant placement, where the implant goes into the socket right after extraction, can work well when:
- There’s no active infection
- The surrounding bone walls are intact
- The implant can be made stable enough in the existing bone
When those conditions are met, immediate placement can shorten the overall timeline by several months. When they aren’t, waiting for healing is the safer path, and Dr. Khalid will explain why.
Stage 3: Letting the Site Heal
If the implant isn’t placed immediately, the site is given time to heal. The gum closes over within a few weeks, but the bone underneath takes longer to fill in and mature.
How long depends largely on what was done:
- A straightforward socket that healed well may be ready within a couple of months.
- A socket with grafting usually needs more time for the graft to consolidate, commonly a few months.
- A larger graft or sinus lift to build up bone can need longer still.
What about the gap in the meantime?
For a back tooth, many people manage comfortably with a temporary gap. For a front tooth, nobody wants to go to work without it. Temporary options include a small removable replacement tooth or, in some cases, a temporary bonded tooth. We’ll talk about which suits your situation, since the temporary must not press on the healing area.
Stage 4: Placing the Implant
This is the visit most people are nervous about, and it’s usually far easier than expected. Placing a single implant is typically done under local anaesthetic, much like a filling in terms of numbness. For patients who feel anxious, Dr. Kucherenko can discuss nitrous oxide sedation to help you relax. We have an earlier article on whether you get put to sleep for a single implant if you’d like to read more.
The implant post is placed into the bone, and either a healing cap is attached or the gum is closed over it. The appointment itself is often around an hour for a straightforward case.
Afterward, most people experience mild soreness and some swelling for a few days, usually manageable with over-the-counter pain relief as advised. You’ll be asked to eat soft foods and avoid chewing on the area while it settles.
Stage 5: Osseointegration
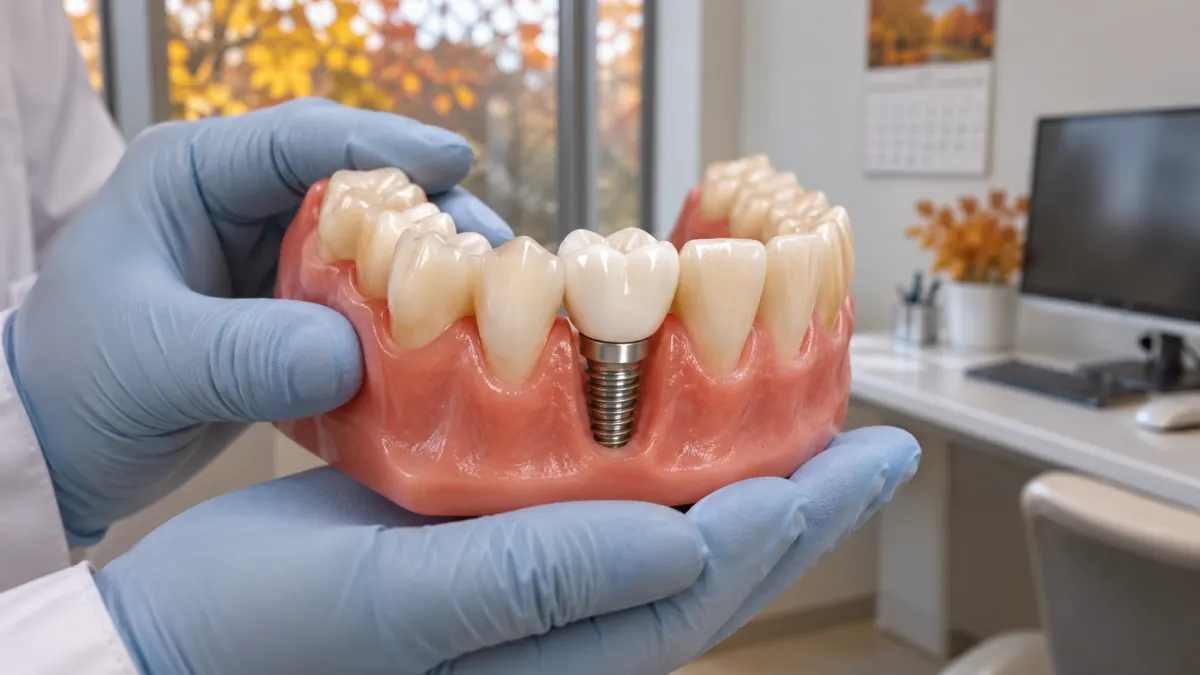
This is the quiet stage, and the most important one. Over the following weeks and months, bone grows into close contact with the implant surface, anchoring it firmly. The process is called osseointegration.
Typical integration periods range from roughly two to four months, though upper-jaw implants or implants in softer or grafted bone may be given longer. Things that can slow healing include smoking, poorly controlled diabetes, and certain medications. Good oral hygiene and following post-operative instructions help.
There’s usually very little to do in this stage except keep the area clean and attend any check-up visits. Many people are surprised by how normal life feels during these months.
Is a temporary crown possible during integration?
In selected cases, especially for front teeth, a temporary crown can be attached to the implant soon after placement, as long as it’s kept out of heavy biting contact. This depends on how stable the implant is at placement, and it’s a decision made on the day. If it isn’t suitable, a removable temporary is used instead.
Stage 6: Designing the Crown
Once integration is confirmed, the next step is recording the position of the implant so the final crown can be made. This is done with an impression or a digital scan. If the gum was closed over the implant, a minor step uncovers it and places a healing collar first, so the gum can shape itself around it for a couple of weeks.
At this stage we also choose the shade, shape and size of the crown so it blends with your neighbouring teeth. For a front tooth, this step often involves extra care and sometimes a try-in.
Stage 7: Fitting the Final Crown
The abutment and crown are attached, the bite is checked and adjusted, and you’re shown how to clean around your new tooth. Most people find the implant feels natural within a short time.
From here, the timeline shifts from treatment to maintenance. Regular hygiene visits, daily flossing or interdental brushing, and annual exams help the implant last. Our article on maintaining a single implant has practical tips.
What Can Speed Things Up or Slow Them Down
Factors that tend to shorten the timeline:
- The tooth is already missing and the site has fully healed
- Healthy bone in good volume
- Immediate placement is suitable
- Non-smoker, good general health
Factors that tend to lengthen it:
- Active infection that needs to resolve
- Thin or deficient bone needing grafting
- Upper back teeth near the sinus
- Smoking, uncontrolled diabetes, or medications affecting bone
- Gum disease elsewhere in the mouth that needs treatment first
Planning Around Your Calendar
Because the process spans months, a little forward planning helps. If you have a wedding, a big trip south this winter, or a busy season at work, mention it at your consultation. It’s often possible to arrange the surgical step so that the most sensitive days don’t collide with important events, and to make sure a temporary tooth is in place where appearance matters.
The costs also tend to fall across stages, which can help with budgeting. Our published fees list a single implant starting from $4,500 CAD; the exact cost depends on your exam and any grafting needed. Information on spreading payments is on our payment plans page.
Questions Patients Often Ask
Why can’t the crown just go on right away?
The implant needs to bond with the bone before it can handle full chewing forces. Loading it too early can disturb that process and risk the implant failing to integrate.
Will I be without a tooth for months?
Not necessarily. There are temporary options for most situations, especially for visible teeth. We’ll plan one with you.
Is the waiting period painful?
Generally, no. After the first few days following surgery, most people feel little or nothing from the implant while it integrates.
How many appointments are involved in total?
It varies, but a typical single-implant case involves several visits spread over a few months: consultation, extraction if needed, placement, a check-up or two, scanning, and crown fitting.
Start Your Timeline With a Clear Plan
The best way to know how long your implant will take is to have the site examined. At My New Teeth on Queen Street in Cookstown, we’ll look at your tooth and bone, explain each stage, and give you a realistic timeline and estimate in writing. You can read more about the treatment on our single dental implant page.
Call (705) 291-2222 or book a consultation and we’ll map out your path from extraction to final crown.